For some, drawing comes naturally, for others, well – they try their best, but the end results are hardly what you would call a masterpiece, and certainly not something you’d want as a keepsake of your beloved pet. But a good artist can create a piece of work that you can love and cherish, much like you can your pet, but how exactly do they do it? We asked our Friend David Smith for some top tips on how to Draw a Dog.
How to Draw a Dog Step by Step
Below is the (simplified) 5 step process David follows when drawing one of his commissions.
1. Starting with a sharp, clear photograph I lightly draw the dog in question. The better the photo at this stage the better the final picture.
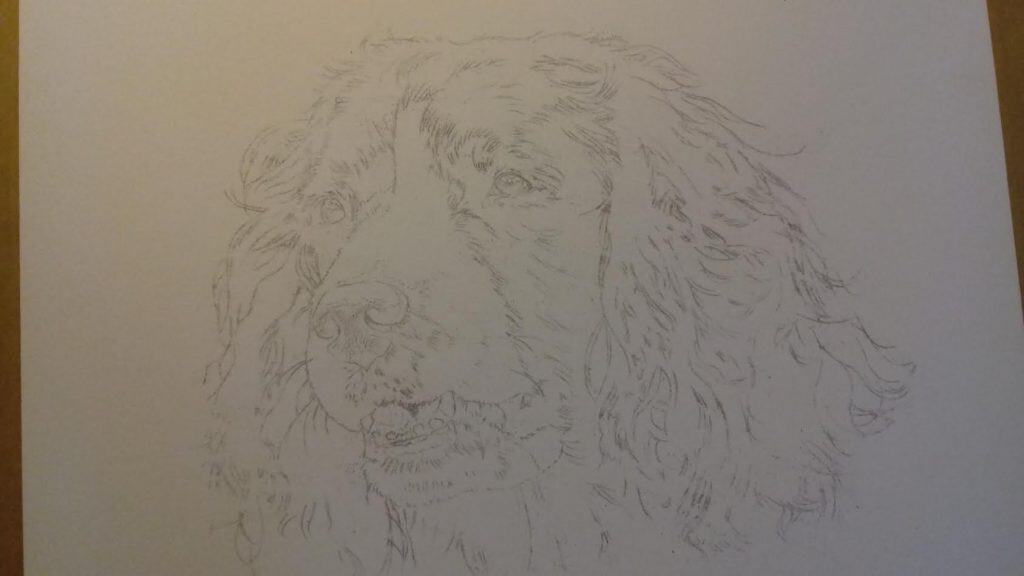
2. Recently I have been experimenting with watercolor pencils to start. This gives me a greater concentration of color in the darker areas.
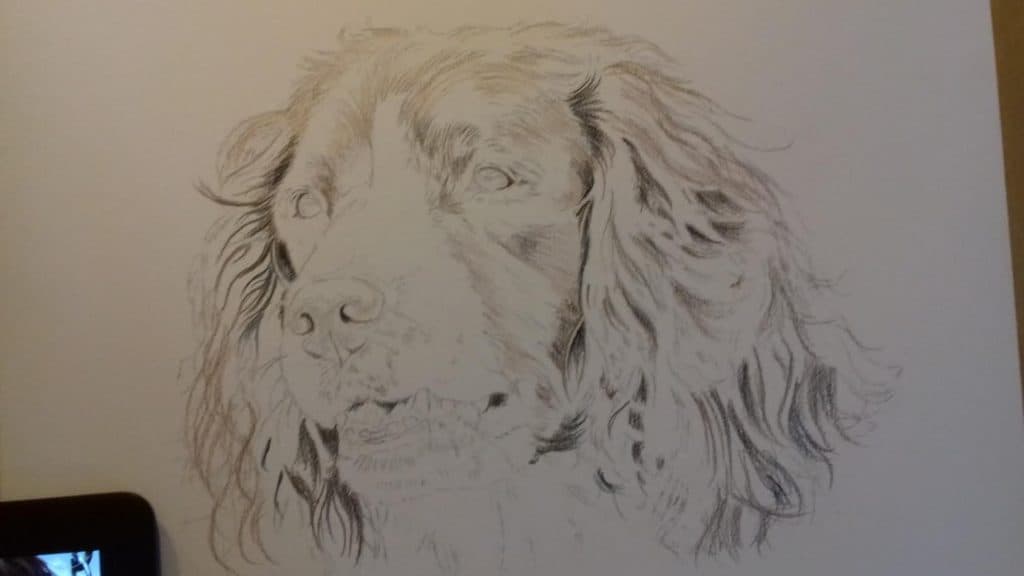
3. I then wash in the color with water and allow to dry.
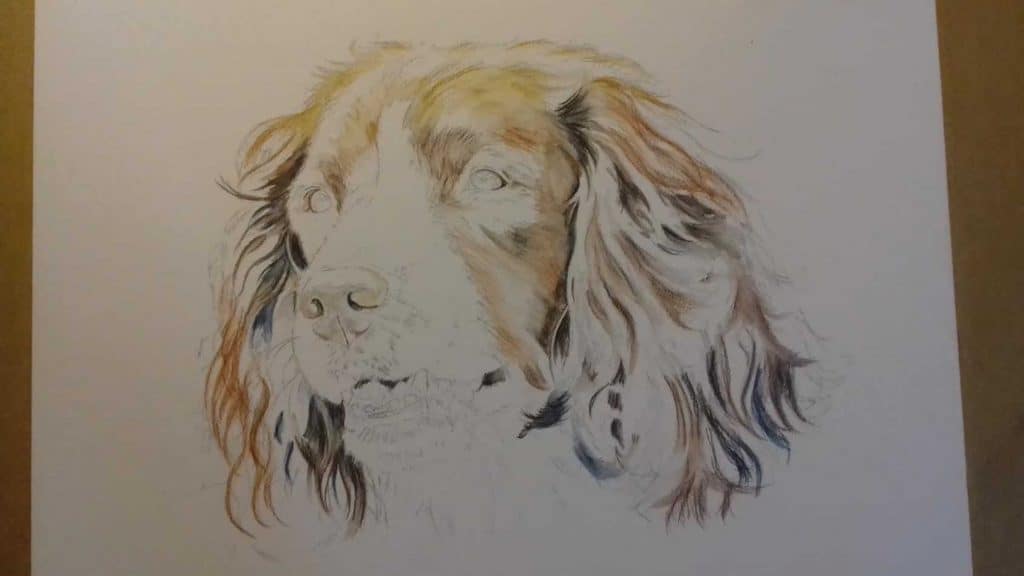
4. Now the important part! The eyes are the most important part followed by the nose. Nail these and you’re nearly there. Additional base colors go into the overall fur.
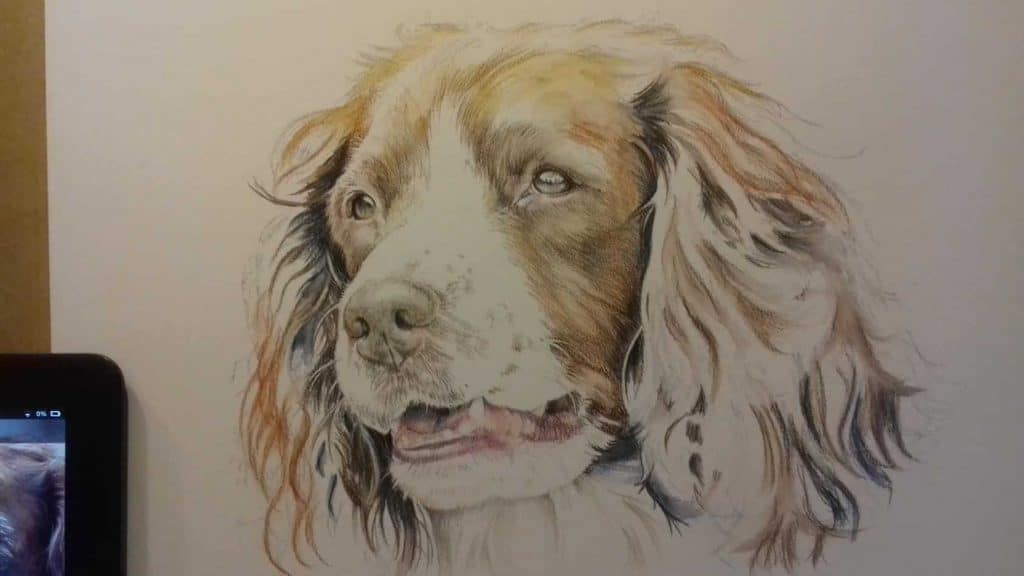
5. Many many strands of fur later the final piece comes together. An overall once over to balance the levels and the piece is complete.
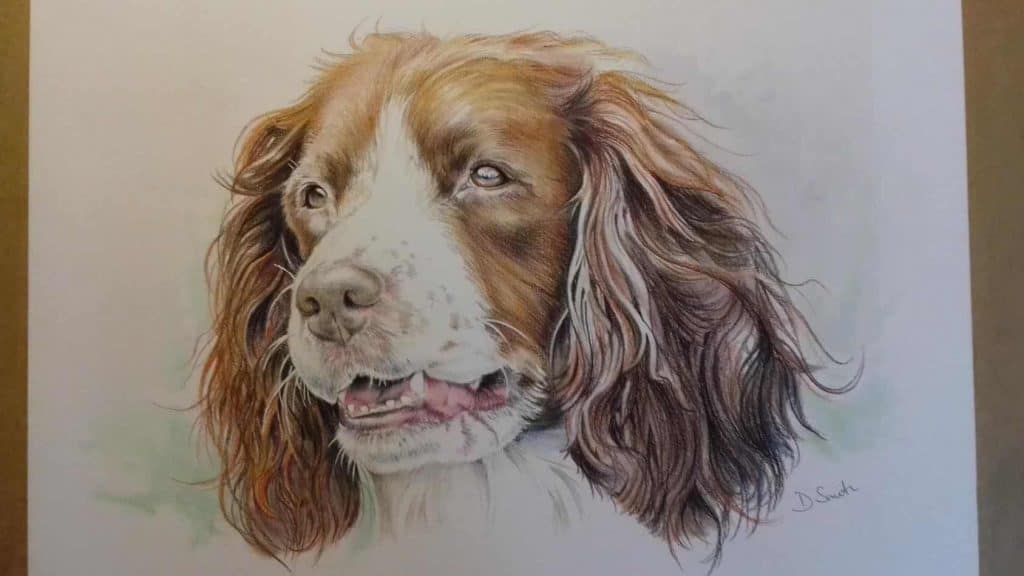
For additional examples of Davids work or to contact him for commissions of your own, visit www.theartofdavidsmith.com | facebook.com/theartofdavidsmith | twitter @artofdavidsmith
Summary
Drawing a Dog is no simple task, but as you can see, if you get someone who really knows what they are doing, the end result can be amazing.
David is currently available for commissions and would love to work with you.

![King Charles Cavalier Cocker Spaniels [Quick Facts] King Charles Cavalier Cocker Spaniels [Quick Facts]](https://spanielking.com/wp-content/uploads/2022/02/dog-1611026_1280-150x150.jpg)
![Blue Roan Cocker Spaniels [Quick Facts] Blue Roan Cocker Spaniels [Quick Facts]](https://spanielking.com/wp-content/uploads/2022/02/download-150x150.jpg)